
windvane add-on
--From 8 to 16 directions--
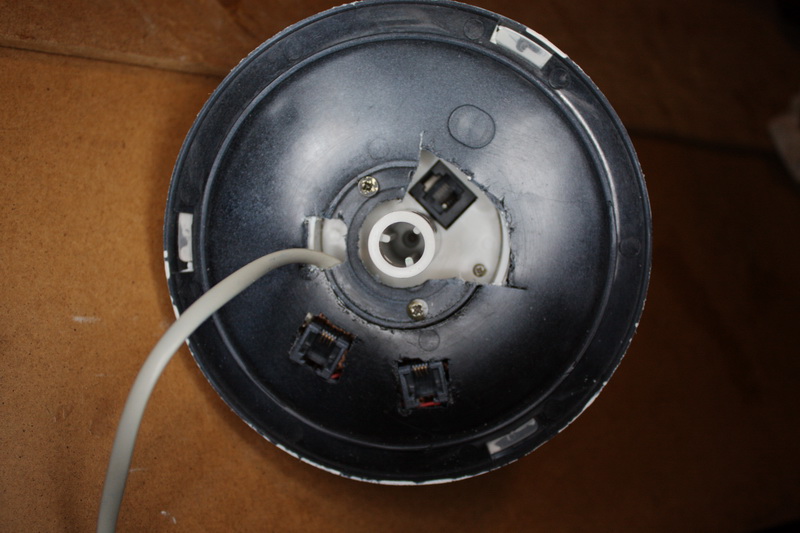
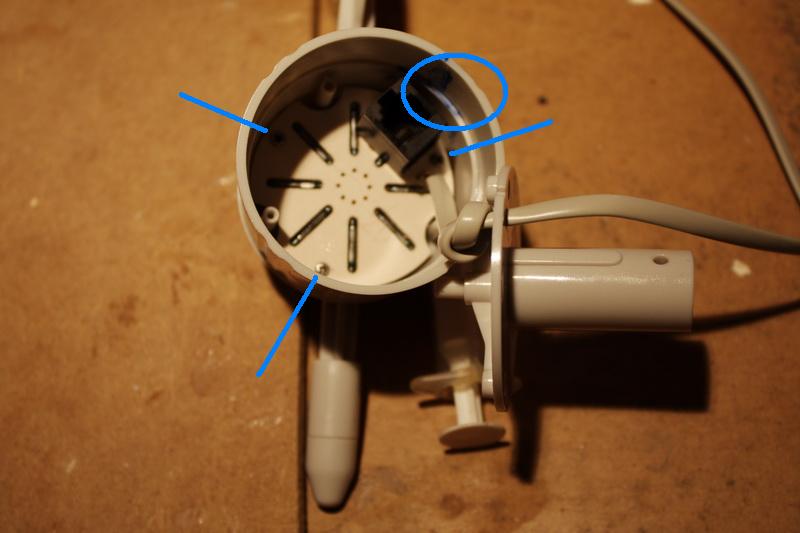
First a picture of the original pcb of the vane.
As can be seen,there is not much space to work with.
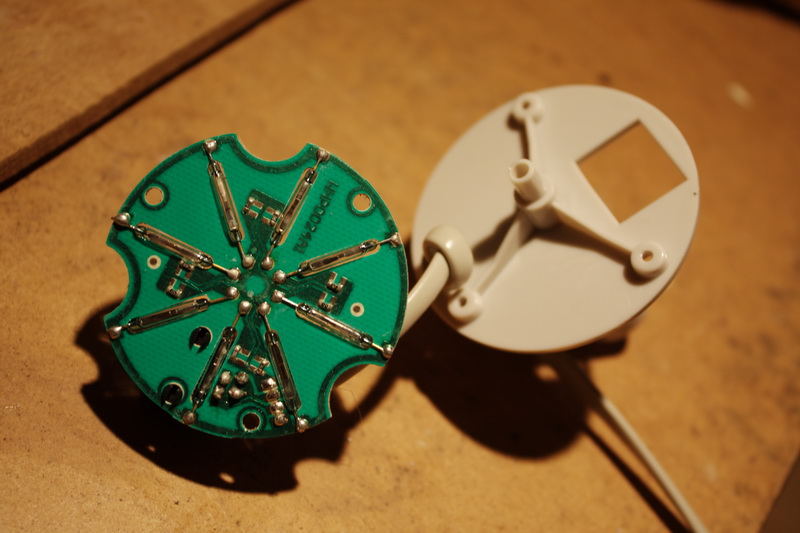
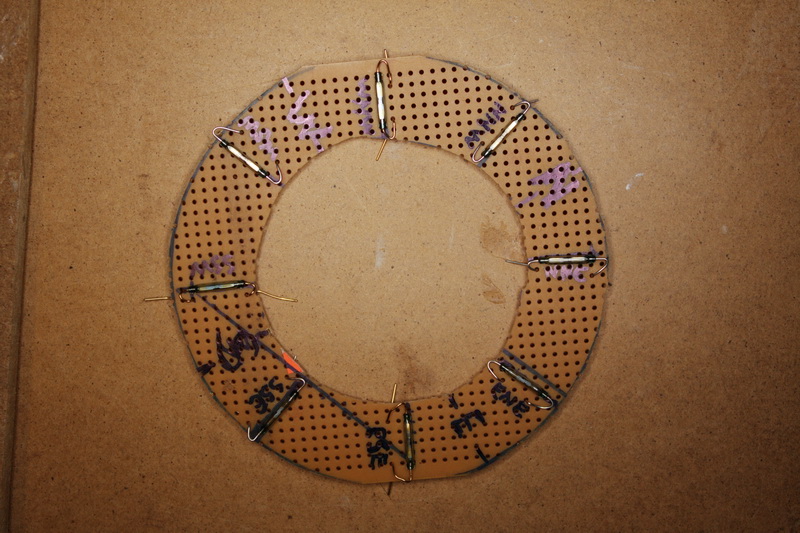
It has 8 reedcontacts (normal open) and 8 smd resistors.
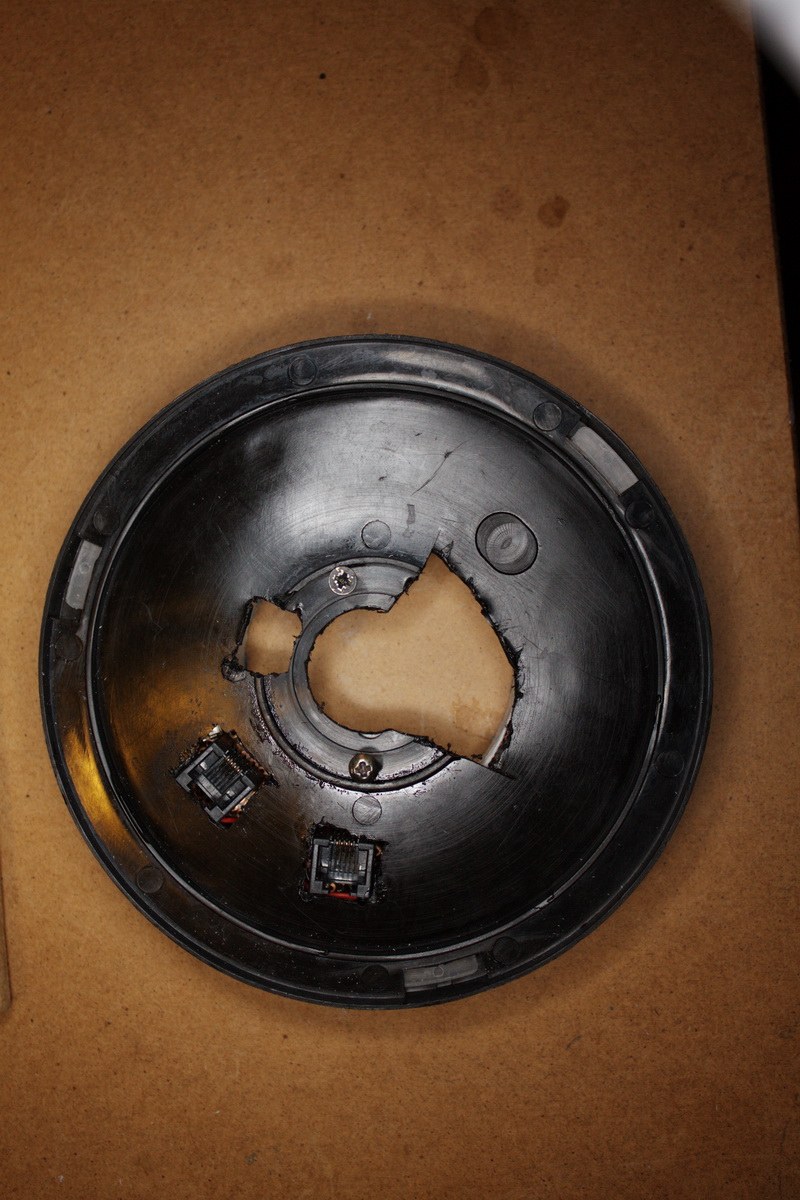
On the other side is an rj-11 connector for the anemometer.
The values of the resistors are:
N 33k,NE 8.22k,E 1k,SE 2.2k,S 3.9k,SW 16k,W 120k,NW 64.9k
To have 8 directions added (NNE-ENE-ESE-SSE-SSW-WSW-WNW-NNW),these are the values for all 16 directions:
N 33k
NNE 6.58k
NE 8.22k
ENE 0.894k
E 1k
ESE 0.69k
SE 2.2k
SSE 1.41k
S 3.9k
SSW 3.14k
SW 16k 1
WSW 14.18k
W 120k
WNW 42.1k
NW 64.9k
NNW 21.9k
All the values are not linear,so replacing it by a potmeter wouldn't work!!
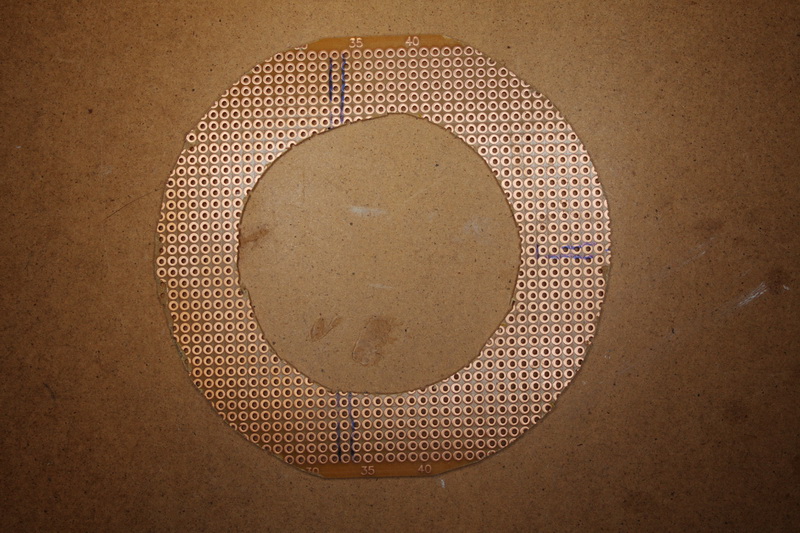
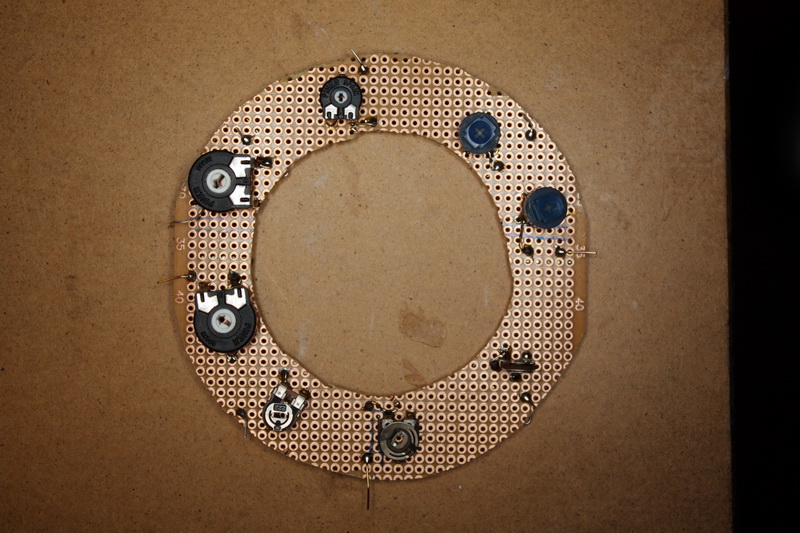
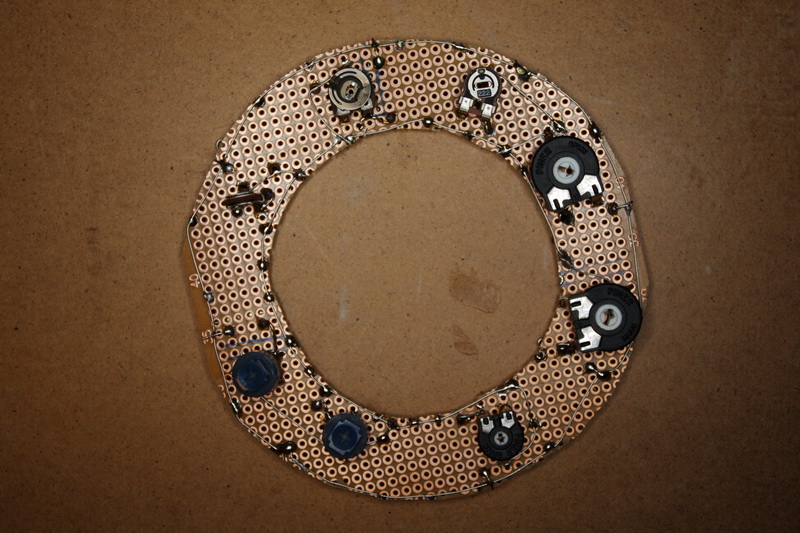
Make another pcb with the 8 new directions.(The Add-on)
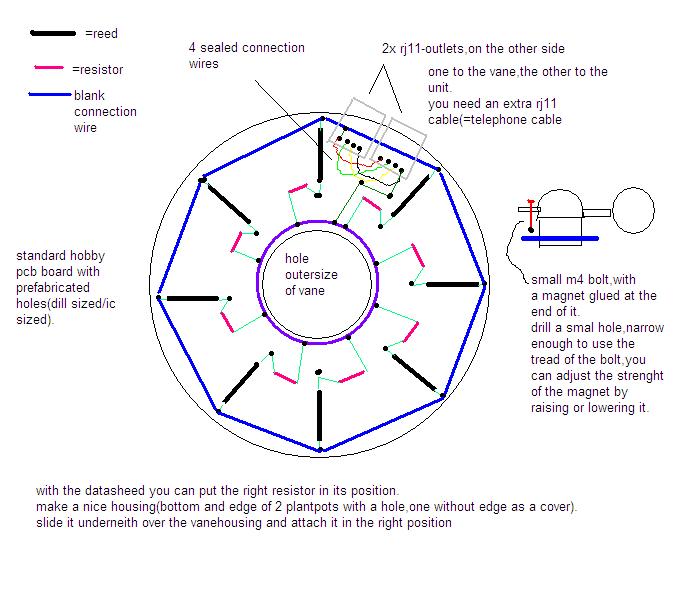
Some or all resistors could be replaced with an adjustment-potmeter
for pcb in the valuerange needed .
To avoid false readings from the original vane(when it has 2 reeds closed,for some directions,it gives the wrong one) ,lower the original pcb+cap a few mm with some washers or something.
this increases the distance of the magnet,so it less likely to trigger 2 reeds.
It is also possible to replace the whole original pcb and make this with 16 reeds,but then it would be wiser to make a new vane as well!!
one that doesn't swirls a much as the original does.
(don't forget to make a connection for the anemometer)
The practice:


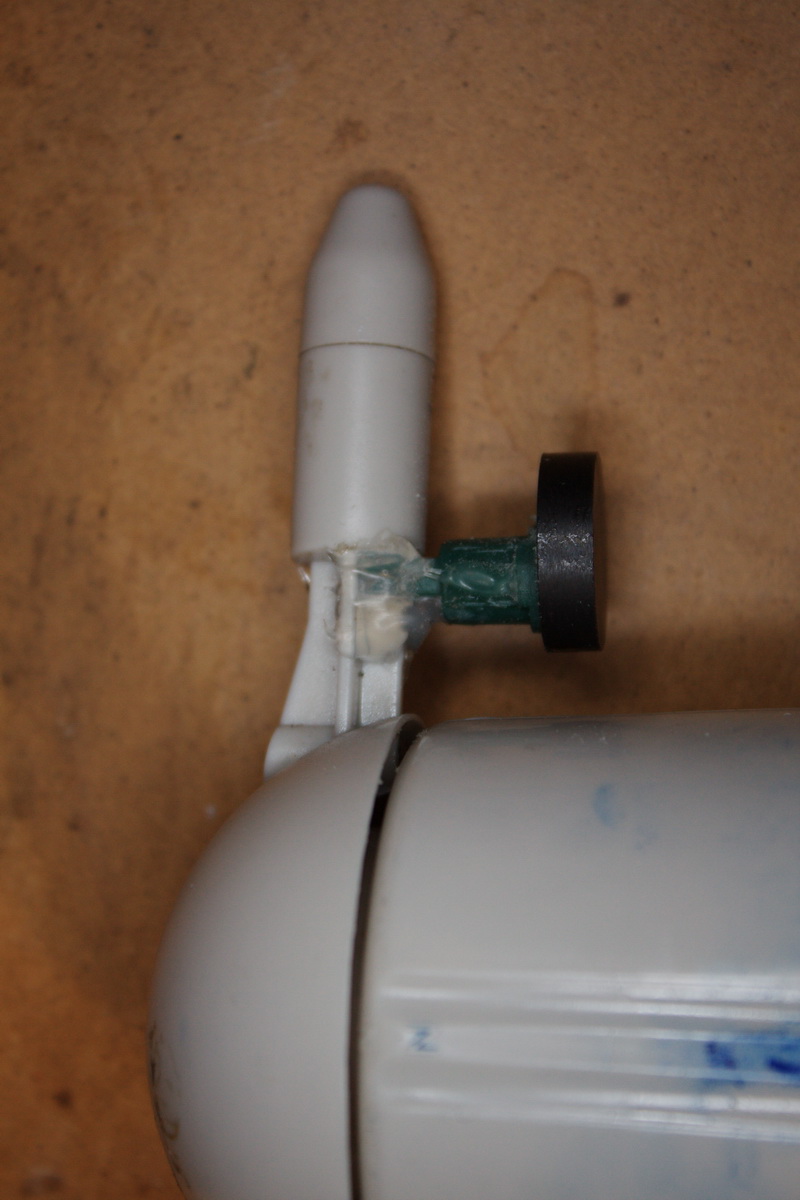
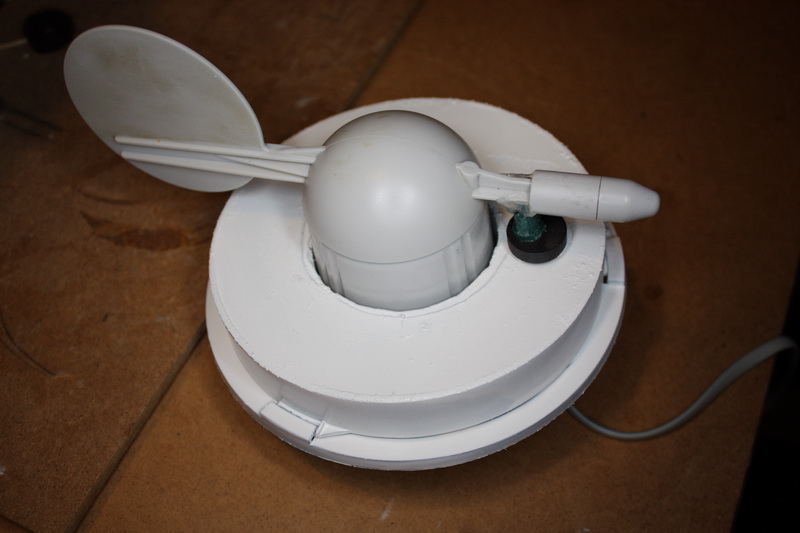
The housing is a cd/dvd spindlebox.
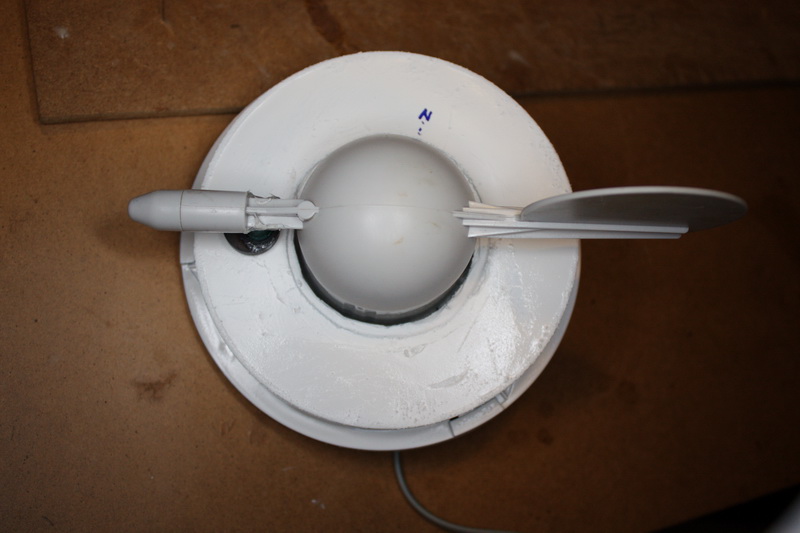
Make sure you align it properly with the original vane.
(This idea is made with the help of users of the Sandaysoftforum)
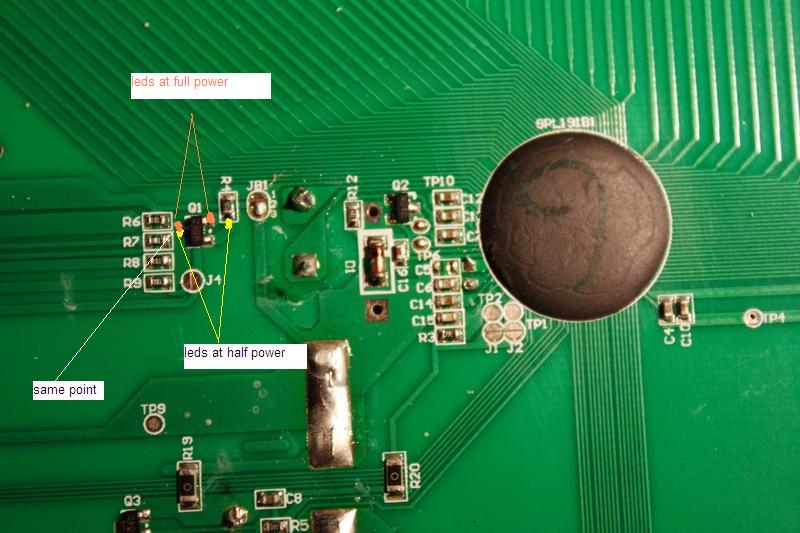
constant light on display
Solder 2 wires on the coloured dots of your choice of brightness.
connect those wires to an on/off switch.
---------------------------------
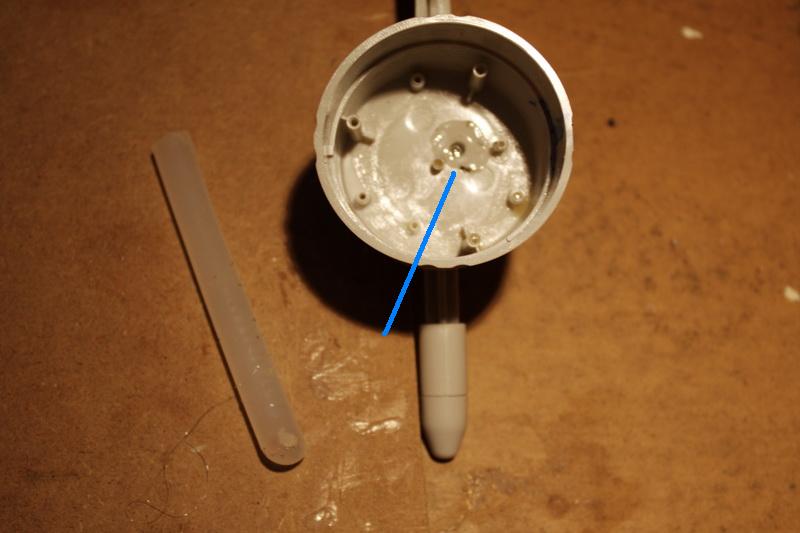
Putting grease in the vane
(to give it some resistance)
i used balbearing grease

drill a small hole(a few mm more outwards then seen here)
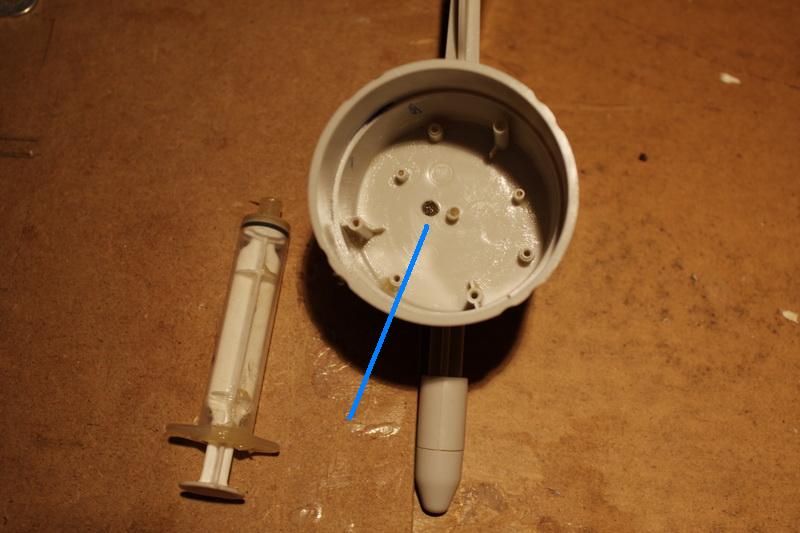
seal the hole with hotglue
| :now::gauges::today::forecast::yesterday::records::monthly records::trends::forum::radar::datasummary: |
Online users :
© Sandaysoft 2008
Cumulus software v1.8.5
by Steve Loft